Hatching baby chicks at home is a fascinating and rewarding project whether you have kiddos in the house or not.
To learn how to successfully hatch chicks, I scoured blog posts and pinterest. I didn’t find a comprehensive guide all in one place — so I decided that, if we had a successful hatch, I’d write one.
Thankfully, our hatch was a success! So here is a guide with all you need to know to hatch chicks at home.
First: Where to get fertile eggs?
We do not have a rooster in with our laying hens, so none of the eggs from our homestead are fertilized. This left us with two options: buying “hatching eggs” (fertilized) from a local farmer or buying them from an online hatchery. Luckily, we had a generous homesteading friend willing to give us our first batch of fertilized eggs! Relationships with fellow homesteaders and local organic farmers are so valuable.

Second: What kind of incubator to get?
After reading reviews for incubators that met my criteria, I decided on this one. My must-haves were: automatic egg turner (ain’t nobody got time to be turning eggs 3-6 times a day), big viewing window, and under $200. This incubator checked all my boxes and, after using it and achieving a good hatch rate, I recommend it.
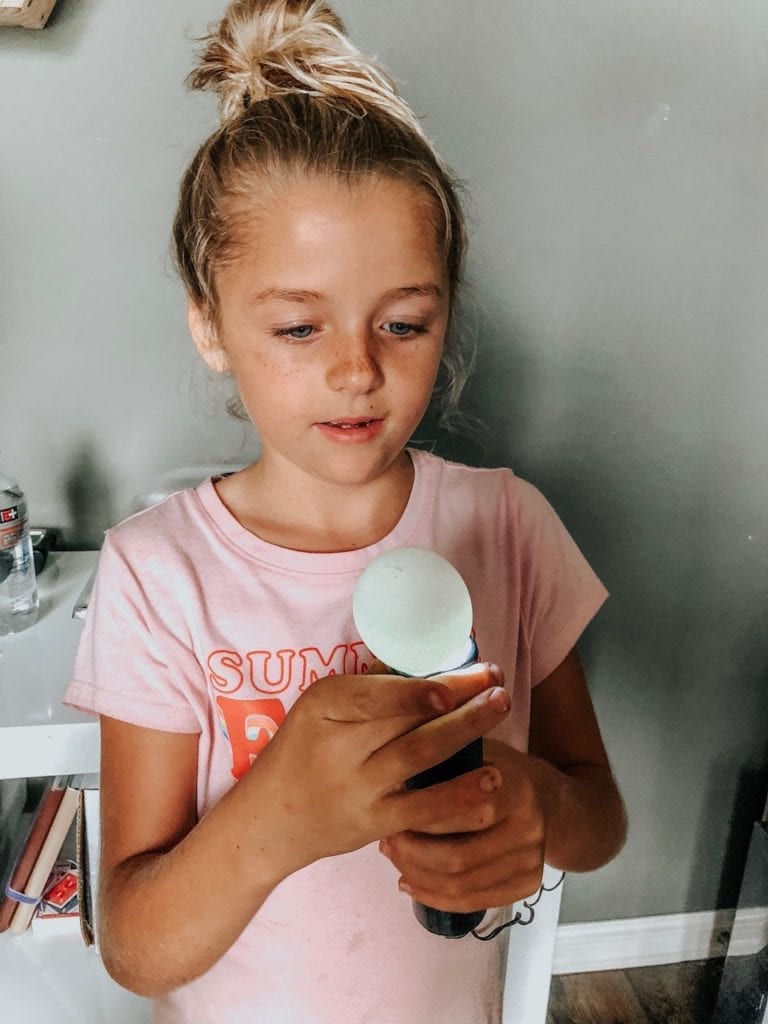
We also grabbed an egg candler, which you’ll want as well. The purpose of candling is to peek inside the egg (think of it like a chicken ultrasound) to see which eggs are forming and which aren’t. The ones that aren’t forming need to be removed so that they don’t spread bacteria to the healthy chicks. This was such a fun and fascinating part of the process! As soon as day 3, we were able to see veins and beating hearts. Later on, you can see little chickies opening and closing their beaks and kicking their legs. My kids loved candling the eggs on the dedicated candling days.
To guide us through our hatch, we used the HatchABatch app. It tells you what’s happening inside the egg each day, and reminds you what to do if any action is needed (like candling).
You also want to let your incubator run for 24 hours before adding eggs to it, to ensure that it can stabilize temperature + humidity.


^ This guy was not allowed into the hatch room for obvious reasons.

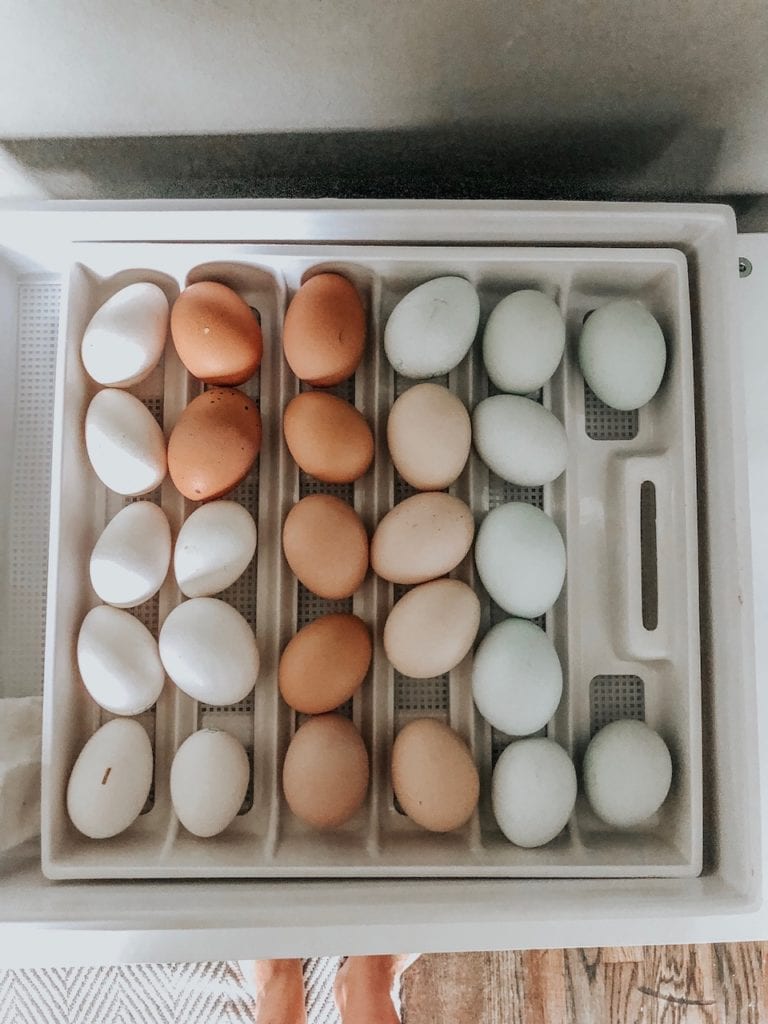
When we were ready to get rockin’, we candled each egg and then put them into the incubator! There were 27 total.
Incubating chicken eggs takes 21 days. The last 3 days, which are the actual hatching days, you go into “lockdown” which means no more opening the incubator to candle. During lockdown, you also bump up the humidity by adding some water. I kept a bottle of water by the incubator the entire time, and would dump a cap full or less in any time I needed more humidity. It was super simple. I checked the incubator in the morning and before bed to make the temperature and humidity were where they needed to be. Lastly, when it’s time for lockdown, you want to take out the egg turner and replace it with a little towel you’re not overly fond of. This is much cozier for the new chicks’ feet and legs and helps ensure they won’t develop leg issues.


I bought this set of life cycle eggs and the kids have had a lot of fun with them.


A day earlier than expected, we saw our first pip!
When a chick is ready to make its way out, it will first “pip” the shell, which just means make a little peck hole. Then it will “unzip,” which means use its egg tooth (little notch on the end of its beak) to peck a circle all around the egg, dividing it into a top and bottom half. Lastly, it will kick off the bottom half of the egg and unfold itself out!

When I checked the eggs for the night after the kids went to bed, I saw that we had our first unzipper. I woke up the big kids and their minds (and mine!) were completely blown as we heard the chick chirping, and saw it breathing and wiggling and working hard.


Eventually, this little sweetie popped out.


When we woke up in the morning, he had a buddy!


Then another!


It was such a fun 3 days watching chick after chick struggle itself free and show themselves and their precious personalities. I knew we would love this, but didn’t realize just how much. My kids told me they had more fun hatching chicks at home than they did at Disney World!


After 12-24 hours passes and your new chick is completely dry and fluffy, you can quickly open the incubator and grab them out to put in the brooder. I recommend removing their egg shell with them, to cut down on bacteria that can grow in the incubator (incubators are the perfection conditions for harboring bacteria).
When a chick leaves the incubator, they’ll need a brooder set up with the following:
-Heater (we prefer this safe alternative to a standard heat lamp)
–Food + food container
-Water + water container
–Shavings
–Apple cider vinegar (a splash in their water to keep them healthy. While you’re at it, add a splash to yours too!)
-If you plan to keep your chickies, we love adding oregano essential oil to their water as well to keep those little immune systems strong (for our free range chicks and our free range children!) More on essential oils here.


^ Sweet little puff ball beaded Polish babies


^ Puffy cheeked little Easter Egger (will lay blue eggs… if she’s a she!)


After all was said and done, 23 eggs went into lockdown (4 had stopped forming) and out of 23 we ended up with 16 healthy, happy, fluffy chicks! Not a bad hatch rate for first timers.

^ Seriously… the puff ball heads!

Miss Frizzle was very curious about her new chirpy neighbors.

If you’re a teacher or homeschool mama and want to hatch chicks in your classroom but don’t want to keep them afterwards, you might reach out to a local farmer in the area and ask if they’d supply you with fertile eggs, let you hatch them with your class, and then give back the baby chicks when you’re done. You might also post in a local chicken Facebook group and let people know you’ll have chicks for sale on x date, and give them away or sell them when they hatch (the going rate per chick is typically $5-10 unless you have fancy breeds).
*Here’s a fun, free printable for the kiddos to do during the hatch. Our kids loved this!
I hope this makes hatching chicks at home super easy. If you have any questions, feel free to reach out via the contact tab.
XO
M
